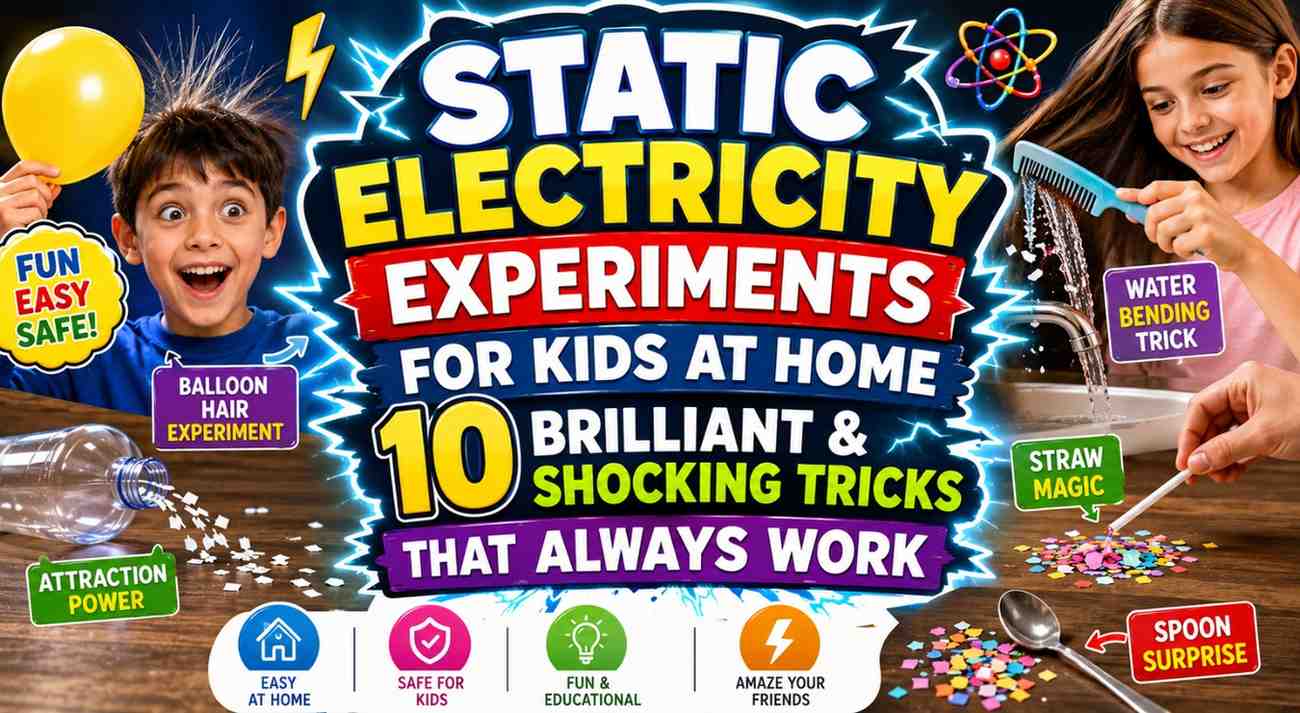
Introduction
Ten years old is a magical age for science. Kids this age are curious enough to ask deep questions, patient enough to follow multi-step instructions, and old enough to understand the why behind what they observe. The only problem? Most science experiment guides either aim too young (boring!) or require expensive equipment that nobody has at home.
That is exactly why easy science experiments for 10-year-olds at home using nothing but kitchen and household items are so valuable. They hit the sweet spot — genuinely challenging, visually impressive, and rooted in real scientific concepts like chemistry, physics, biology, and engineering.
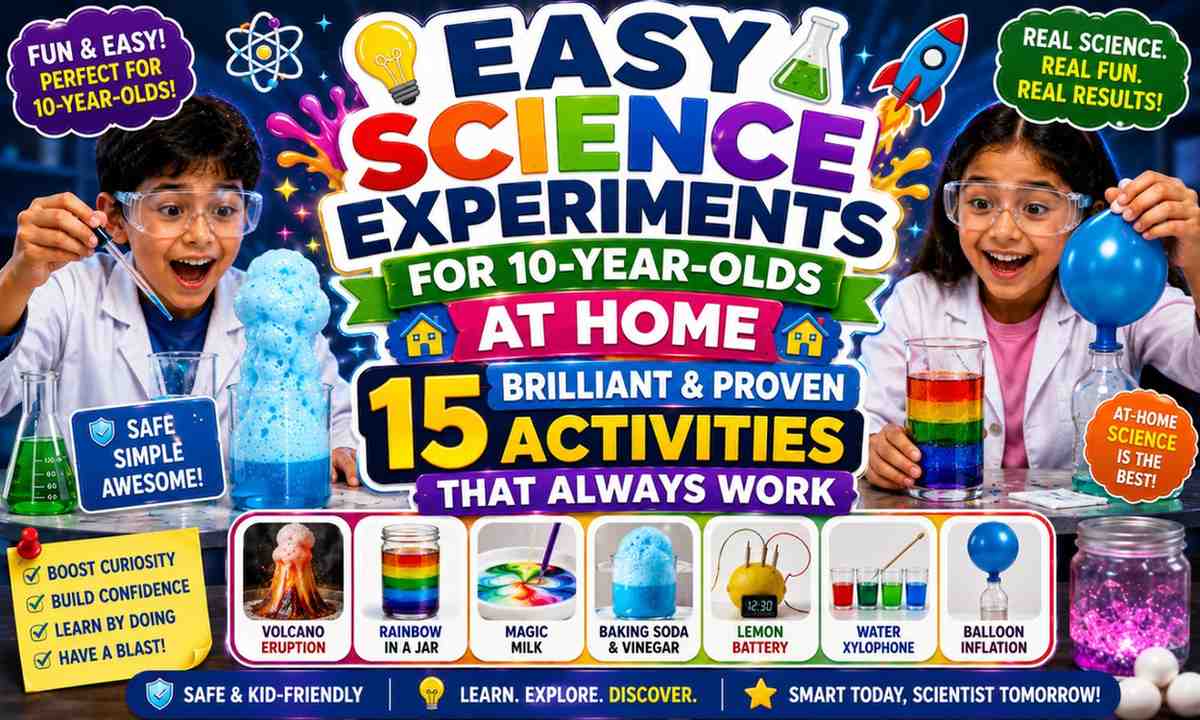
In this guide, you will find 15 completely proven activities that require zero trips to a specialty store. No lab equipment. No expensive kits. Just the stuff already sitting in your kitchen, bathroom, or junk drawer—and a curious 10-year-old ready to discover how the world works.
Every single one of these easy science experiments for 10-year-olds at home has been selected because it works reliably, teaches a meaningful concept, and delivers the kind of “wow” moment that makes a child want to do another experiment immediately after.
Why 10-Year-Olds Are the Perfect Age for Home Science
Before diving into the experiments, it is worth understanding what makes age 10 such a special window for hands-on science learning.
At 10, children are typically in the concrete operational stage of cognitive development — they learn best by seeing, touching, and doing rather than reading or listening. They can form simple hypotheses, observe carefully, and begin to understand cause and effect at a meaningful level.
They are also naturally competitive and goal-oriented at this age — which means experiments that involve measurement, comparison, or challenge (like “how strong can you make this bridge?”) land especially well.
Most importantly, easy science experiments for 10-year-olds at home build real academic confidence. When a child successfully grows crystals, separates mixtures, or builds a working circuit, they carry that confidence directly into the classroom.
Easy Science Experiments for 10 Year Olds at Home — 15 Activities Using Only Kitchen Stuff
Experiment 1: The Density Tower
Concept Taught: Fluid density, layering, buoyancy
What You Need:
- A tall, clear glass or jar
- Honey
- Dish soap (colored)
- Water (colored with food dye)
- Vegetable oil
- Rubbing alcohol (colored with food dye)
- Small objects: a grape, a coin, a cork, a raisin, a small plastic toy
Steps:
- Carefully pour each liquid one at a time into the glass, starting with honey at the bottom, then dish soap, then colored water, then vegetable oil, then colored alcohol on top.
- Pour each layer slowly over the back of a spoon to prevent mixing.
- Once all five layers are visible, drop each small object in and observe where it settles.
- Record which objects sink to which layer and why.
The Science: Each liquid has a different density — the amount of mass packed into a given volume. Denser liquids sink below less dense ones. Objects also settle at the layer that matches their own density. This is one of the most visually stunning easy science experiments for 10-year-olds at home and doubles as a beautiful piece of science art.
Take It Further: Can you add a sixth layer? Try corn syrup or isopropyl alcohol and find where they settle.
Experiment 2: Homemade Compass
Concept Taught: Magnetism, Earth’s magnetic field, polarity
What You Need:
- A sewing needle
- A bar magnet or strong refrigerator magnet
- A small piece of cork, foam, or a leaf
- A shallow bowl of water
Steps:
- Stroke the needle in ONE direction along the magnet about 30–40 times. Always stroke in the same direction — do not go back and forth.
- Cut a small circle of cork or foam and place it on the water’s surface.
- Lay the magnetized needle carefully on top of the cork.
- Watch as the needle slowly rotates to point north-south.
- Test by turning the bowl—the needle will always return to pointing north.
The Science: Stroking the needle with a magnet aligns the iron atoms inside it in the same direction, turning the needle into a temporary magnet. Earth itself acts as a giant magnet with north and south poles—your magnetized needle aligns with Earth’s magnetic field just like a real compass. This is the same principle behind navigation compasses used for centuries.
Experiment 3: Casein Plastic from Milk
Concept Taught: Polymer chemistry, acid-base reactions, protein denaturation
What You Need:
- 1 cup whole milk
- 4 teaspoons white vinegar
- A saucepan
- A strainer or cheesecloth
- Cookie cutters or molds (optional)
Steps:
- Heat the milk in a saucepan over medium heat until it just begins to simmer — do not boil.
- Remove from heat and add the vinegar. Stir gently for about 1 minute.
- You will see the milk separate into curds (solid) and whey (liquid).
- Strain the curds through cheesecloth or a fine strainer.
- Press the warm curds together into a shape—a ball, a flat disc, or cookie cutters.
- Leave to harden for 24–48 hours. The result is a hard, plastic-like material!
The Science: Milk contains a protein called casein. When acid (vinegar) is added to hot milk, the casein proteins unfold and clump together—a process called “denaturation.” The clumps, when pressed together and dried, form a natural plastic called casein plastic. This is literally how the first commercial plastics were made in the early 1900s. Among all easy science experiments for 10-year-olds at home, this one produces the most genuinely surprising result.
Experiment 4: Paper Bridge Engineering Challenge
Concept Taught: Structural engineering, forces, tension and compression
What You Need:
- 5 sheets of plain A4 paper
- A roll of tape
- Two stacks of books (same height) to act as bridge supports
- Coins or small weights for testing
Steps:
- Set the two book stacks 20–25 cm apart.
- Using only the paper and tape provided, build a bridge that spans the gap.
- Test how many coins your bridge holds before collapsing.
- Rebuild with a different design — try folding the paper into a corrugated shape, rolling it into tubes, or creating a truss structure.
- Compare which design holds the most weight.
The Science: This experiment teaches compressive and tensile forces. Flat paper is weak under load, but folded paper creates triangles and arches that distribute weight far more efficiently. Engineers use these same principles to design real bridges. Children who fold their paper into corrugated or triangular shapes almost always outperform those who use flat sheets—demonstrating why geometry matters in structural design.
Take It Further: Add a constraint—only 3 pieces of tape allowed. How does scarcity affect design thinking?
Experiment 5: Homemade Lava Lamp
Concept Taught: Density, polarity, chemical reactions
What You Need:
- A clear bottle or tall glass
- Vegetable oil (fill about 3/4 full)
- Water (colored with food dye)
- An effervescent tablet (like Alka-Seltzer) or baking soda and citric acid
Steps:
- Pour colored water into the bottle first (about 1/4 full).
- Slowly pour vegetable oil on top until the bottle is nearly full.
- Watch the oil and water separate completely.
- Break an effervescent tablet into pieces and drop one piece in.
- Watch colored water bubbles rise and fall through the oil in a mesmerizing loop!
The Science: Oil and water do not mix because of molecular polarity—water molecules are polar and attracted to each other, while oil molecules are nonpolar. The tablet produces CO₂ bubbles that attach to colored water droplets and carry them up through the oil. When bubbles pop at the surface, the water droplets sink back down. This is density and chemistry combining to create a genuinely beautiful display.
Experiment 6: Separating Mixtures — Salt, Sand, and Iron
Concept Taught: Mixtures, solutions, magnetic separation, filtration
What You Need:
- Salt
- Sand
- Iron filings (or scrape a steel wool pad)
- A magnet
- Water
- A coffee filter or paper towel
- Three cups
Steps:
- Mix salt, sand, and iron filings together in a cup.
- Use a magnet (wrapped in plastic wrap for easy cleanup) to pull out the iron filings.
- Add water to the remaining salt and sand mixture and stir—the salt dissolves, the sand does not.
- Filter the mixture through a coffee filter into a cup — the sand stays in the filter.
- The filtered liquid is a salt solution. Leave it in a warm place to evaporate—salt crystals will appear in a few hours.
The Science: This experiment uses three different separation techniques: magnetic separation, filtration, and evaporation—the same methods used by real chemists and engineers. It teaches that different properties of materials (magnetism, solubility, particle size) can be exploited to separate them. This is among the most academically valuable easy science experiments for 10-year-olds at home.
Experiment 7: Invisible Ink Message
Concept Taught: Oxidation, chemical reactions, heat
What You Need:
- Lemon juice (fresh or bottled)
- A paintbrush or cotton swab
- White paper
- A lamp with an incandescent bulb or a hairdryer
Steps:
- Dip the paintbrush or swab into lemon juice.
- Write a secret message on white paper.
- Let it dry completely — it becomes invisible.
- Hold the paper close to a hot light bulb or use a hairdryer on medium heat.
- Watch the message slowly appear in brown letters!
The Science: Lemon juice is a weak organic acid that is colorless when dry. When heated, the carbon compounds in lemon juice undergo oxidation — they react with oxygen in the air and break down into carbon, which is brown or black in color. The paper around the writing heats evenly, but the lemon juice compounds oxidize faster, revealing the hidden message. This same principle applies to other organic acids like orange juice, milk, and honey.
Experiment 8: Egg in a Bottle
Concept Taught: Air pressure, temperature and gas volume
What You Need:
- A hard-boiled egg (peeled)
- A glass bottle with a neck slightly narrower than the egg
- A strip of paper
- A match or lighter (adult supervision required)
Steps:
- Hard-boil and peel the egg. Set aside.
- Tear a strip of paper, light it, and drop it into the bottle.
- Immediately place the egg on top of the bottle opening, narrow end down.
- Watch as the egg gets sucked into the bottle!
The Science: The burning paper heats the air inside the bottle, causing it to expand and some air to escape. When the flame goes out, the air inside cools and contracts, creating lower pressure inside the bottle than outside. The greater air pressure outside pushes the egg inward, sucking it through the neck. This dramatically illustrates atmospheric pressure and how temperature affects gas volume (Charles’s Law).
Adult Supervision: Always required for fire-related experiments.
Experiment 9: Growing a Bean in a Bag
Concept Taught: Plant biology, germination, photosynthesis
What You Need:
- A dried bean or pea seed
- A zip-lock plastic bag
- A damp paper towel
- A sunny window
Steps:
- Wet the paper towel and wring it out so it is damp but not dripping.
- Place the bean against the side of the bag, wrapped in the damp towel.
- Seal the bag and tape it to a sunny window so you can see through the bag to the seed.
- Check daily. Within 3–7 days you will see the seed crack, roots emerge downward, and a shoot reach upward.
- Record observations with drawings each day.
The Science: Seeds contain stored energy that activates when given moisture and warmth—a process called germination. Roots always grow downward (gravitropism) and shoots always grow toward light (phototropism), regardless of how you position the bag. This experiment makes the invisible process of plant growth completely visible—it’s one of the most elegant, easy science experiments for 10-year-olds at home.
Experiment 10: Paper Chromatography — Separating Ink Colors
Concept Taught: Chromatography, mixtures, chemical properties
What You Need:
- Coffee filters or paper towels cut into strips
- Water-based felt-tip markers (black, brown, or purple work best)
- Pencils
- Glasses of water
Steps:
- Draw a thick dot of marker color about 2 cm from the bottom of a paper strip.
- Hang the strip over a pencil resting across a glass of water so the very bottom of the paper (but not the dot) touches the water.
- Watch as water travels up the paper by capillary action.
- When the water reaches the dot, the ink begins to separate into different colors.
- A black marker will often separate into blue, red, yellow, and green!
The Science: Marker ink is a mixture of different colored pigments. Each pigment molecule has a slightly different size and attraction to water. As water travels up the paper, it carries pigments with it—but lighter, smaller molecules travel farther than heavier ones. This separates them into distinct bands of color — the exact same technique used by scientists in forensic labs and pharmaceutical research.
Experiment 11: Vinegar and Baking Soda Rocket
Concept Taught: Gas pressure, Newton’s Third Law
What You Need:
- A small plastic film canister or airtight container with a snap-on lid
- Baking soda
- Vinegar
- An open outdoor space
Steps:
- Put 1 teaspoon of vinegar inside the canister.
- Wrap 1/2 teaspoon of baking soda in a small square of tissue paper.
- Drop the tissue parcel into the canister and quickly snap the lid shut.
- Place the canister on the ground, lid down, and step back immediately.
- Within 5–15 seconds — LAUNCH! The canister shoots upward with a satisfying pop.
The Science: CO₂ builds up inside the sealed canister, increasing pressure rapidly. When the pressure exceeds what the lid can hold, it releases explosively, launching the canister upward — a perfect real-world demonstration of Newton’s Third Law and gas pressure.
Experiment 12: Water Filtration System
Concept Taught: Environmental science, filtration, water purification
What You Need:
- A plastic bottle cut in half
- Gravel or small pebbles
- Sand
- Cotton balls or a coffee filter
- Muddy water (mix soil and water)
Steps:
- Place cotton balls or a coffee filter at the narrow neck of the bottle (upside down as a funnel).
- Layer sand on top of the cotton, then gravel on top of the sand.
- Slowly pour muddy water through the top.
- Collect the filtered water in a cup below.
- Compare the clarity of filtered vs. unfiltered water.
The Science: Each layer filters out different-sized particles. Gravel catches large debris, sand catches fine particles, and cotton/filters catch microscopic matter. This is exactly how real water treatment facilities work — just on a much larger scale. This is one of the most impactful easy science experiments for 10-year-olds at home because it connects directly to global environmental issues.
Experiment 13: Cartesian Diver
Concept Taught: Buoyancy, water pressure, Boyle’s Law
What You Need:
- A plastic 2-liter bottle filled completely with water
- A small plastic sauce packet (ketchup or soy sauce from a fast-food restaurant)
Steps:
- Fill the bottle completely full with water.
- Drop the sauce packet in — it should just barely float. If it sinks, try a different packet.
- Put the lid on tightly.
- Squeeze the sides of the bottle firmly.
- The packet sinks! Release the pressure, and it rises again.
The Science: The sauce packet contains a tiny air bubble that keeps it barely buoyant. When you squeeze the bottle, you increase water pressure throughout the bottle. This compresses the air bubble inside the packet, making the packet denser than the water—so it sinks. Release the pressure, the bubble expands, buoyancy returns, and the packet rises. This is Boyle’s Law made completely tangible.
Experiment 14: Make Your Own Thermometer
Concept Taught: Thermal expansion, measurement, temperature
What You Need:
- A clear plastic straw
- A small glass bottle or test tube
- Rubbing alcohol colored with food dye
- Modeling clay or putty
- Hot and cold water bowls
Steps:
- Fill the bottle almost full with colored rubbing alcohol.
- Insert the straw so it dips into the liquid but does not touch the bottom.
- Seal the opening around the straw with modeling clay so no air can enter.
- Place the bottle in a cup of hot water — the liquid rises up the straw.
- Place in cold water — the liquid falls. Mark the levels with a pen!
The Science: Liquids expand when heated and contract when cooled—this is called thermal expansion. The narrow straw amplifies this tiny change in volume, making it clearly visible. This is exactly how traditional glass thermometers work. Children can calibrate their thermometer against a real one to create a proper temperature scale.
Experiment 15: Homemade Electromagnet
Concept Taught: Electromagnetism, electric circuits, magnetism
What You Need:
- A large iron nail (at least 6 cm)
- Thin insulated copper wire (about 1 meter)
- A 1.5V AA battery
- Small paper clips or iron filings
Steps:
- Tightly wrap the copper wire around the nail in a single layer, leaving about 10 cm of wire free at each end.
- Strip a small amount of insulation from each end of the wire.
- Connect one free wire end to the positive terminal of the battery and one to the negative.
- Hold the nail near paper clips—they stick to it.
- Disconnect the battery—the clips fall off.
The Science: When electric current flows through a wire, it generates a magnetic field around the wire. Wrapping the wire around the nail concentrates this field, turning the iron nail into a temporary magnet — an electromagnet. Remove the current, and the magnetism stops. This is the principle behind electric motors, MRI machines, and speakers.
Tips for Maximum Success
Getting the best results from easy science experiments for 10-year-olds at home requires a few habits that mirror real scientific practice.
Always make a prediction before each experiment. What do you think will happen? Write it down. Compare your prediction to the result — even being wrong is valuable.
Change only one variable at a time when experimenting. This is the foundation of the scientific method and turns a fun activity into a real investigation.
Record everything in a notebook — observations, measurements, sketches, and questions. This habit, started at 10, pays dividends throughout a scientific education.
Frequently Asked Questions (FAQ)
Q1: What is the most impressive easy science experiment for a 10-year-old? The density tower and casein plastic from milk are consistently the most impressive because they produce visible, tangible results that feel genuinely surprising. For school projects, the water filtration system earns the highest marks.
Q2: Which of these experiments works best for a school science fair? The paper bridge engineering challenge, water filtration system, and paper chromatography all make outstanding science fair projects because they involve measurable variables, clear hypotheses, and strong visual presentations.
Q3: How long do these experiments take? Most take 15–30 minutes to complete. The crystal growing and rubber egg experiments take 24–48 hours. The bean germination experiment unfolds over 3–7 days — ideal for a multi-day science journal activity.
Q4: Do any of these experiments require adult supervision? The egg-in-a-bottle and vinegar rocket experiments involve fire or pressure and should always be supervised by an adult. All others are safely independent for a capable 10-year-old.
Q5: Can these experiments be used as homeschool science lessons? Absolutely. Each experiment maps directly to key concepts in primary and middle school science curricula—chemistry, physics, biology, environmental science, and engineering are all represented across the 15 activities.
Conclusion
Easy science experiments for 10-year-olds at home do not need to be complicated, expensive, or store-bought to be genuinely powerful. Every experiment in this guide uses only household materials — yet each one teaches a real, curriculum-aligned scientific concept that children will remember long after the activity is over.
From building bridges under engineering constraints to growing living plants in a plastic bag to making plastic from milk, these 15 activities cover the full breadth of science in ways that feel like play but deliver real learning.
The greatest gift you can give a 10-year-old who loves science is not a kit from a shop. It is the discovery that science is already everywhere — in the kitchen, the garden, the bathroom cabinet, and the junk drawer. You just need to know where to look.
So pick an experiment, make a prediction, and start exploring. The world is your laboratory.
External Resource (DoFollow): For curriculum-aligned science activities, project guides, and educator resources, visit Science Buddies — the leading free STEM platform for K–12 students worldwide.