Introduction: The Ultimate Engineering Challenge for Young Builders
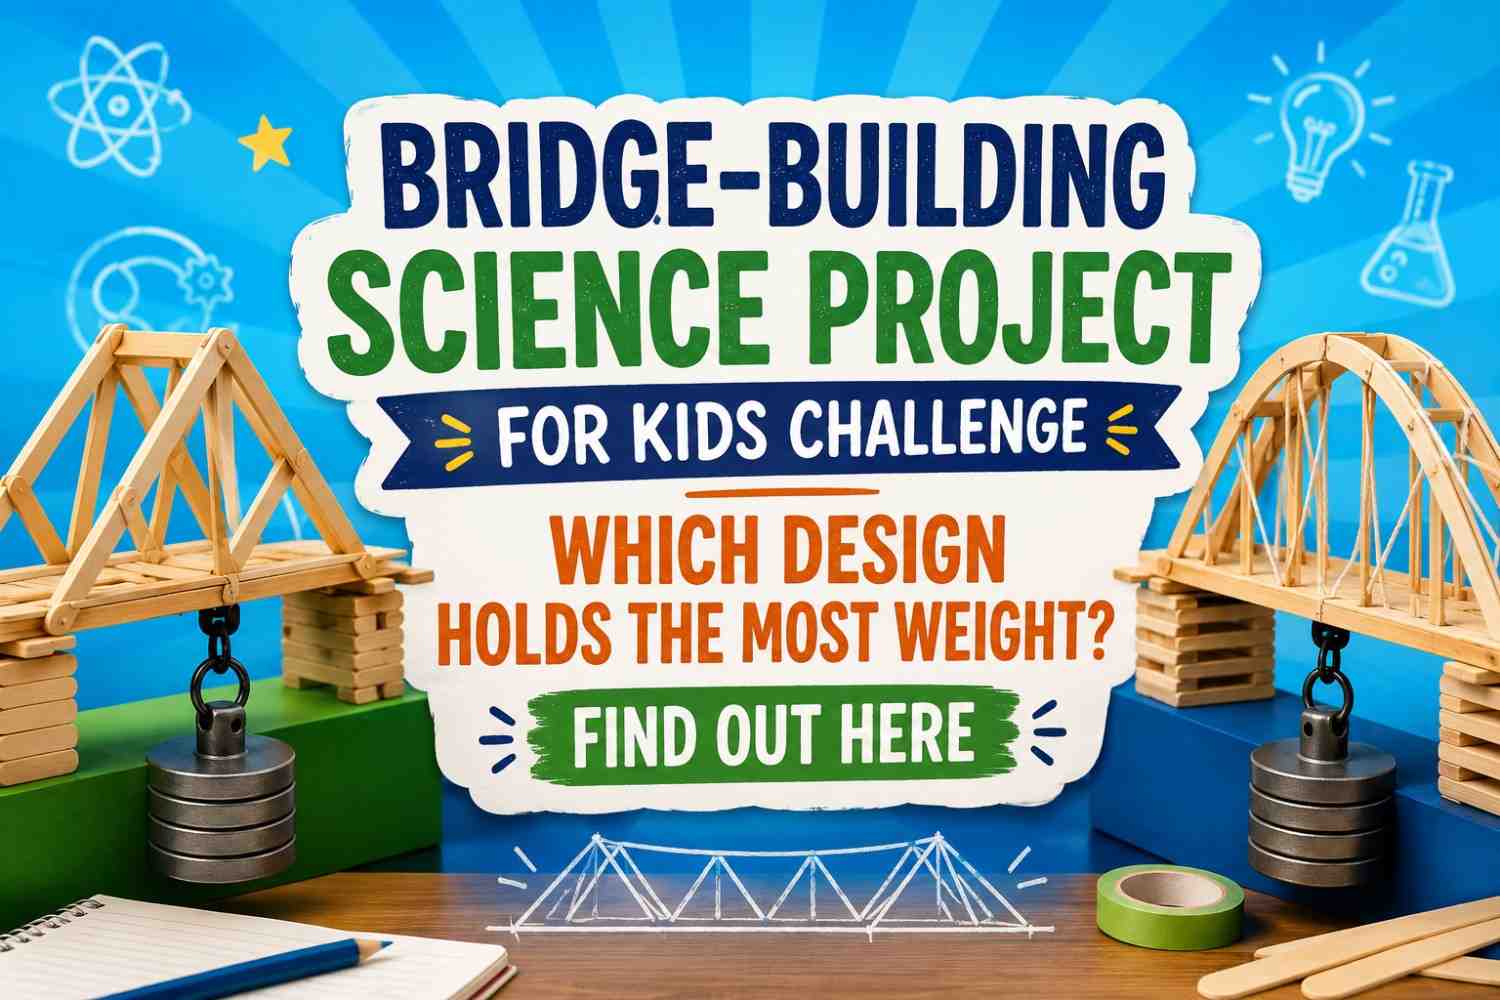
The bridge-building science project for kids challenge is one of the most purely exciting engineering experiments in science education. The premise is gloriously simple: build the strongest bridge you can from a limited set of materials, then load it with weights until it fails. Whoever’s bridge holds the most weight wins.
But here’s what separates a science fair winner from a participant: the winner doesn’t just build a strong bridge. They understand why their bridge is strong, test multiple designs systematically, measure load data carefully, and explain the structural engineering principles behind their results.
This guide gives you everything you need to dominate the bridge-building science project for kids challenge—from the science of structural forces to five proven bridge designs and a step-by-step experimental framework that turns a fun building challenge into award-winning science.
The Science of Bridges: What You Need to Know First
Before building, understand the two fundamental forces acting on any bridge:
Compression: A pushing or squeezing force. When you stand on a bridge, the weight of your body pushes downward on the bridge deck. The bridge materials below experience compression—they are being squeezed.
Tension: A pulling or stretching force. The underside of a beam under load experiences tension—the material is being stretched. If the tension exceeds the material’s tensile strength, it snaps.
Different bridge designs distribute these forces differently. The genius of a well-designed bridge is that it redirects forces from areas of weakness (material that breaks easily in tension) to areas of strength (material that resists compression well).
The most important structural principle in bridge design: Triangles don’t deform under load. A triangle made from three rigid members will not change shape when force is applied—unlike a square, which will shear into a parallelogram. This is why triangular trusses appear in virtually every strong bridge, building, crane, and tower ever constructed.
5 Bridge Designs to Test in Your Experiment
Design 1: Flat Beam Bridge The simplest design — a flat piece of material spanning the gap. This serves as your control (baseline) design. It fails relatively quickly as the center sags under load (the bottom experiences tension beyond the material’s strength). All other designs should outperform the flat beam.
Design 2: Arch Bridge Shape your material into a curved arch between the supports. The arch design converts the downward load of traffic into outward compression forces that travel through the arch and into the supports (abutments). Because the material is in compression rather than tension along the arch, it can carry significantly more load. The Roman Pantheon and the Sydney Harbour Bridge both use arch principles.
Design 3: Truss Bridge Build a framework of triangles above or below the bridge deck using popsicle sticks or toothpicks and white glue. The triangular network distributes load across many members simultaneously, preventing any single point from bearing the entire weight. Most railway bridges and highway overpasses use truss designs.
Design 4: Suspension Bridge Attach “cables” (string or wire) from tall towers above the bridge deck down to anchors on either side. Hang the deck from the cables using vertical “hanger” strings. The cables carry the load primarily in tension—a force that string and wire are very efficient at resisting. The Golden Gate Bridge and Brooklyn Bridge use suspension design.
Design 5: Cable-Stayed Bridge Attach cables directly from a central tower to the deck at multiple points along the span. Unlike the suspension bridge, the cables run straight from tower to deck with no main cable curve. This design is modern, elegant, and extremely efficient for medium to long spans.
Step-by-Step Challenge Instructions
Setup: Place two stacks of books or two tables exactly 30 cm apart. This is your bridge span—the distance your bridge must cross.
Materials (choose one set for a fair comparison):
- Option A (Popsicle sticks + white glue): Classic, gives excellent results with truss designs.
- Option B (Paper only + tape): More challenging, emphasizes folding geometry.
- Option C (Spaghetti + marshmallows): A fun classroom challenge with naturally limited strength.
- Option D (Index cards + tape): Good middle ground between paper and sticks.
Building Rules (for scientific validity):
- Every design must use the same quantity of materials (e.g., exactly 30 popsicle sticks and 10ml of glue).
- Every bridge must span the same distance (30 cm).
- Every bridge must be able to hold a small cup or platform for loading weights.
- Allow identical drying/curing time for all designs before testing.
Testing:
- Place a small plastic cup or platform in the exact center of the bridge span.
- Add weights one at a time — coins, small washers, or gram weights work well.
- Record the total mass on the bridge at the moment of failure.
- Note how the bridge failed — where did it break? Did it buckle (compression failure) or snap (tension failure)?
- Repeat each design at least twice and average your results.
Data Collection Template
| Design | Trial 1 Max Load (g) | Trial 2 Max Load (g) | Average Load (g) | Failure Mode |
|---|---|---|---|---|
| Flat Beam | ||||
| Arch | ||||
| Truss | ||||
| Suspension | ||||
| Cable-Stayed |
Create this table on your display board with your actual results filled in. Add a bar graph showing the average maximum load for each design. Judges love clear, organized data presented in visual form.
How to Extend This Into a More Advanced Experiment
Variable 1: Material Type Build the same design (e.g., truss) from three different materials and compare maximum load. Which material is strongest per gram of material used? Calculate strength-to-weight ratio: load held (g) ÷ bridge mass (g). Higher ratio = more efficient design.
Variable 2: Span Length Build the same truss design for spans of 20 cm, 30 cm, and 40 cm. How does increasing span length affect maximum load capacity? This mimics one of the key challenges real bridge engineers face.
Variable 3: Triangle Size in Truss Build trusses with small, medium, and large triangles using the same total number of sticks. Does triangle size affect strength? This directly tests the truss geometry principle.
For detailed structural engineering principles and the science behind real bridge design, PBS Learning Media’s Bridge Engineering resource offers excellent free educational content that you can cite in your project bibliography.
How Real Engineers Design Bridges
Real bridge design involves the same principles you’re testing in this challenge, scaled up by thousands of engineers using sophisticated computer modeling. Modern bridges are designed to withstand not just the weight of traffic but also wind loads, earthquake forces, temperature expansion and contraction, and the dynamic forces of vehicles moving at speed.
The longest bridge in the world — the Danyang-Kunshan Grand Bridge in China — spans 164.8 km. The design principles that make it stand are identical to those you’re testing with popsicle sticks: triangular trusses, arch principles, and the efficient distribution of compression and tension forces through carefully chosen structural geometry.
Frequently Asked Questions
Q: Which bridge design typically holds the most weight in the bridge-building science project for kids’ challenge? A: The truss bridge — particularly a Warren truss or Pratt truss design with many small triangles — typically outperforms other designs when built from rigid materials like popsicle sticks. The arch design also performs very well, especially for paper-based challenges where folding into a curve is feasible.
Q: How do I make a popsicle stick truss bridge stronger? A: Use small triangles rather than large ones—more triangles mean more force distribution points. Let the glue dry completely (overnight minimum) before testing. Apply glue to both contact surfaces and hold each joint for 60 seconds before moving to the next. Reinforce the bridge deck with a double layer of sticks.
Q: What is the best material for a bridge-building science project challenge? A: For maximum strength, popsicle sticks with wood glue are the strongest per gram. For the most interesting science fair experiment, compare two or three materials (popsicle sticks vs. paper vs. spaghetti) and calculate strength-to-weight ratios for each.
Q: How do I turn the bridge challenge into a proper scientific experiment? A: Test one variable at a time with at least two trials per condition. Record failure loads precisely. Calculate averages. Graph your results and draw a conclusion that directly addresses your hypothesis. The more data you collect and the more clearly you present it, the more scientific your project becomes.
Q: What should I write in my hypothesis for a bridge-building experiment? A: Example: “If a popsicle stick bridge uses a Warren truss design rather than a flat beam design, then it will hold at least 3 times more weight before failing because the triangular truss structure distributes the load across multiple members rather than concentrating stress at a single central point.”
Related Articles
- Simple Machine Science Project for Kids Class 6 — Lever, Pulley & Wheel Guide
- Working Model Science Project Ideas for Kids 2026 — 12 Weekend Builds
- Best Science Fair Projects for Class 5 Students — 15 Award-Winning Ideas
Conclusion
The bridge-building science project for kids’ challenge is engineering at its most pure and exciting: a direct test of structural principles, material properties, and design ingenuity, with a clear, measurable outcome. The bridge either holds the weight, or it doesn’t.
But the students who excel in this challenge are not necessarily those who build the strongest first bridge. They’re the ones who understand why their design works; test multiple configurations systematically; and can explain—clearly, confidently, and with real data—exactly what they discovered about structural engineering.
Build your flat beam. Build your truss. Build your arch. Test them all. Measure the failures. Graph the results. And then stand in front of your judges and explain — in the language of compression, tension, and triangles — why one design held everything while another collapsed under the very first coin.
That’s engineering. That’s science. That’s how you win.