Introduction: Bring Earth’s Most Important Cycle to Life
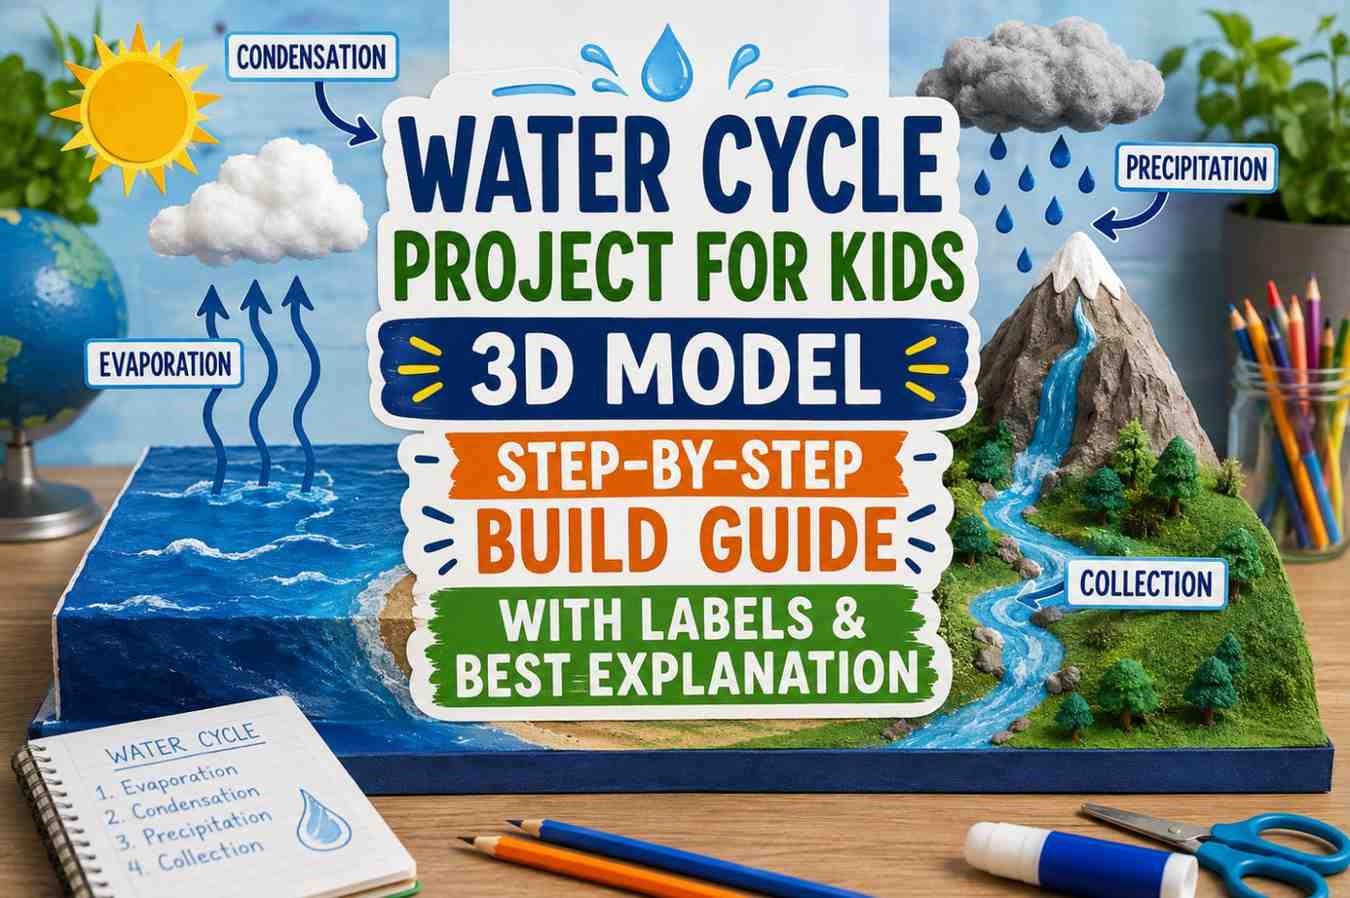
The water cycle project for kids 3D model transforms one of Earth’s most fundamental processes—the continuous movement of water through evaporation, condensation, precipitation, and collection—into a tangible, visible, and genuinely educational display.
What makes the water cycle such a powerful science fair topic is its relevance. Every weather event, every river, every cloud in the sky, and every drop of water in your glass is part of this continuous cycle. A well-built 3D water cycle model that actually demonstrates evaporation and condensation in real time is one of the most impressive and educational displays possible at any school science fair.
This complete guide takes you from concept to finished, labeled water cycle project for kids 3D model step by step—with everything you need to build it, explain it, and win with it.
The Science Behind the Water Cycle
The water cycle has four main stages. Understanding each one before you build is essential for a strong presentation.
Evaporation: Heat energy from the Sun causes liquid water from oceans, lakes, and rivers to convert into water vapor gas, which rises into the atmosphere. Approximately 86% of all evaporation occurs from ocean surfaces.
Condensation: As water vapor rises and cools in the upper atmosphere, it condenses around tiny dust particles to form water droplets, which cluster together to form clouds. This is why clouds form at altitude — the air is cold enough there to condense vapor.
Precipitation: When water droplets in clouds combine and grow heavy enough, they fall back to Earth as rain, snow, sleet, or hail—collectively known as precipitation.
Collection (Runoff): Precipitation collects in oceans, lakes, rivers, and groundwater aquifers, from which evaporation begins again—completing the cycle.
Some models also include transpiration (water vapor released by plants), infiltration (water soaking into soil), and sublimation (ice converting directly to vapor). Including these additional stages in your model shows deeper scientific understanding.
Materials List
For the model box:
- A large clear plastic storage box with lid (shoebox works too)
- OR a large zip-lock bag (for a simplified hanging version)
For the landscape:
- Blue modeling clay or blue-painted foam for ocean/lake
- Brown or green clay for mountains and land
- Small rocks and sand for texture
- Small plastic plants or real dried moss
For demonstrating the cycle:
- Hot water (to simulate evaporation)
- Ice cubes in a zip-lock bag (to simulate the cold upper atmosphere causing condensation)
- Blue food coloring for the water
For labels:
- Small flag labels on toothpick sticks
- Permanent marker or printed text
Step-by-Step Build Instructions
Step 1: Design Your Landscape Sketch your 3D landscape layout first on paper. You want: an ocean or lake on one side (low elevation), mountains in the middle (high elevation), and a valley or river system on the other side. This geography naturally demonstrates all four water cycle stages across the model.
Step 2: Build the Landscape Base Line the bottom of your clear plastic box with blue clay for the ocean and brown clay for the land, and build up mountains using crumpled aluminum foil covered with brown clay or papier-mâché. Allow sufficient depth in the ocean area to hold real water for the live demonstration.
Step 3: Paint and Detail the Landscape Paint the land areas green and brown. Add blue food coloring to a small amount of water and pour it into the ocean section. Add small stones, dried moss, or plastic miniature trees to the landscape for realism.
Step 4: Create the Condensation Demonstration Fill a zip-lock bag with ice cubes. Place or tape this bag to the inside of the clear lid directly over the “ocean” area. When you pour hot water into the ocean section and close the lid, water vapor rises, hits the cold bag, condenses into droplets on the inside of the lid, and then “rains” back down into the landscape. This real-time demonstration of the complete water cycle is what makes this model outstanding.
Step 5: Add Labels Create small flag labels on toothpick poles planted in the landscape at each relevant location:
- “Evaporation” — arrow pointing upward from the ocean surface
- “Water Vapor” — label in the mid-air space inside the box
- “Condensation” — label near the ice bag under the lid
- “Clouds” — optional cotton ball clouds glued to the inside of the lid
- “Precipitation” — arrow pointing downward from the cloud area
- “Runoff/Collection” — arrow following the river back to the ocean
- “Transpiration” — label near the plants with upward arrow
Step 6: Create Cotton Ball Clouds Glue stretched cotton balls to the underside of the clear lid above the mountain area. These represent cloud formation at altitude—where the air is cold enough for condensation. The visual contrast between the blue ocean, green land, and white clouds makes the model immediately understandable.
Step 7: Add Sun and Atmosphere Labels Cut a yellow circle and label it “Sun — Heat Energy Source” and attach it to the outside of the box wall above the ocean section. Add a curved arrow from the Sun pointing down to the water surface, then curving upward to represent the evaporation process. These external labels complete the narrative of energy driving the entire cycle.
The Live Demonstration: Make It Unforgettable
When judges approach your display, offer a live demonstration:
- Remove the ice bag temporarily and let any existing moisture clear.
- Pour freshly boiled (or very hot) water into the ocean section.
- Immediately place the ice-filled bag on the lid.
- Close the box and wait 60–90 seconds.
- Watch as water vapor rises, condenses on the cold lid surface, and drips back down as “rain” into the landscape.
This real-time demonstration of the complete water cycle — happening right in front of the judge in under two minutes — is one of the most powerful and memorable science fair moments possible.
For detailed scientific background on Earth’s water cycle, NASA’s Earth Science Water Cycle page provides excellent free educational content.
Frequently Asked Questions
Q: What is the easiest version of the 3D model water cycle project for kids? A: The zip-lock bag version is the absolute simplest. Draw a sun, clouds, rain, and ocean on the outside of a large, clear zip-lock bag. Add a tablespoon of blue-colored water inside. Seal it and tape it to a sunny window. The sun’s warmth causes evaporation, and condensation forms on the cooler upper part of the bag within hours—a complete water cycle in miniature.
Q: How do I make the rain in the water cycle model look realistic? A: Use the ice bag on the lid of the clear box. Real condensation droplets form, grow, and fall — far more realistic than any painted or glued representation. Blue food coloring in the water also makes the “rain” droplets visible as they drip back into the collection area.
Q: How long does the water cycle 3D model take to build? A: The basic model takes about 4–6 hours across one day. If you use papier-mâché for the mountains, add another 24–48 hours of drying time. Plan to complete the build at least two days before your science fair date.
Q: What extra stages can I include to make the model more impressive? A: Add transpiration (arrows from plant leaves going upward), infiltration (blue-dyed sand showing water soaking into the ground layer), and sublimation (a small piece of dry ice if available and supervised by an adult). Each additional stage demonstrates deeper water cycle knowledge.
Q: How do I present the water cycle model to science fair judges? A: Start by pointing to the sun and saying, “The sun provides the energy that drives the entire water cycle.” Then trace the cycle through each stage physically—pointing to evaporation at the ocean, vapor rising, condensation under the lid, precipitation falling, and runoff returning to the ocean. Then perform the live demonstration. End with: “This same cycle has been running continuously on Earth for over 4 billion years.”
Related Articles
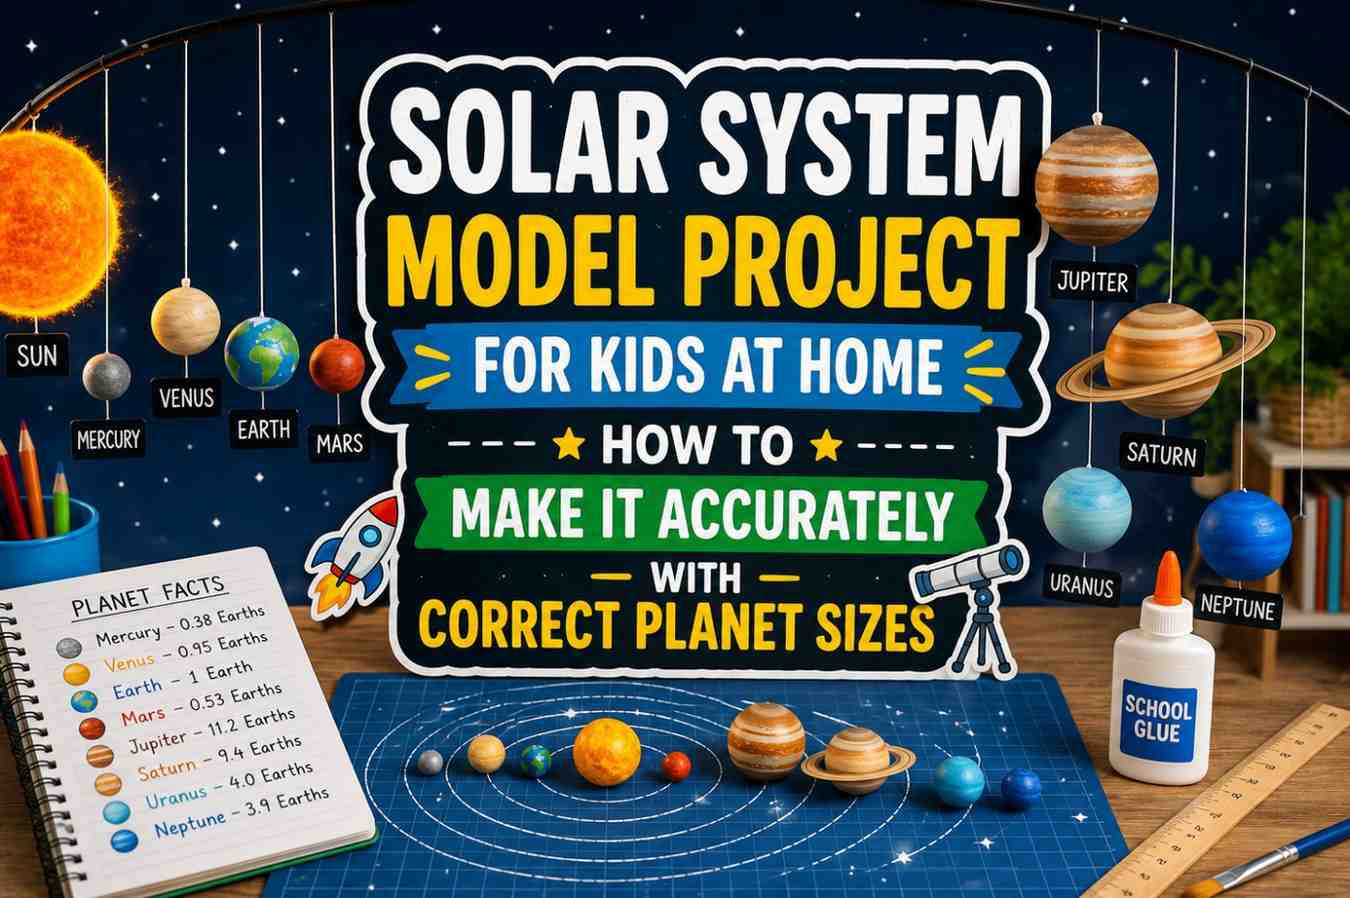
- Solar System Model Project for Kids at Home — Correct Planet Sizes Guide
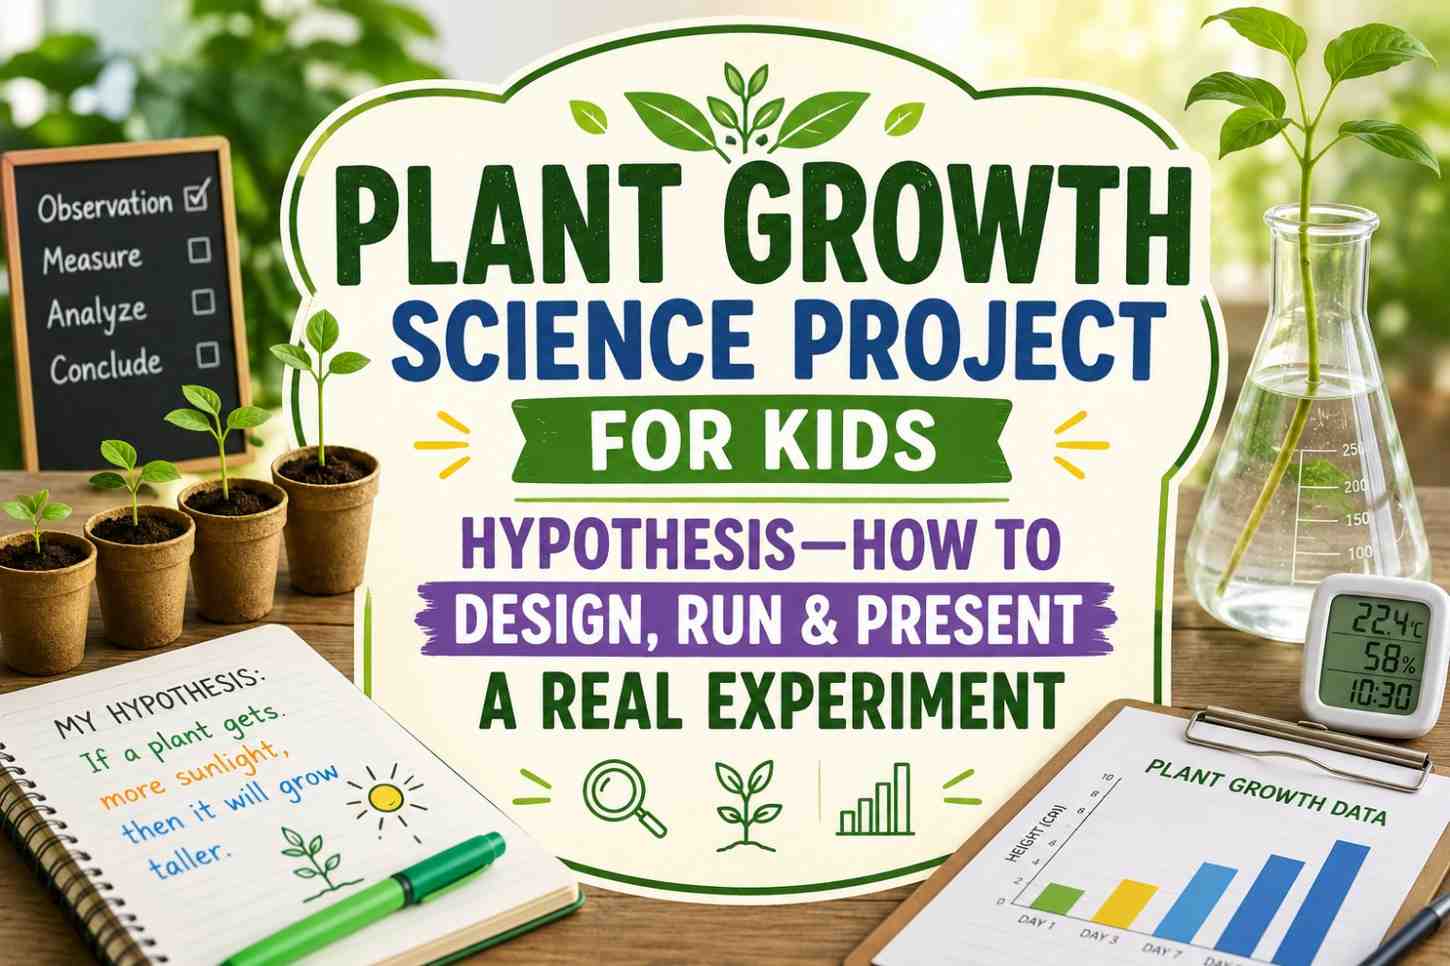
- Plant Growth Science Project for Kids Hypothesis — Design a Real Experiment
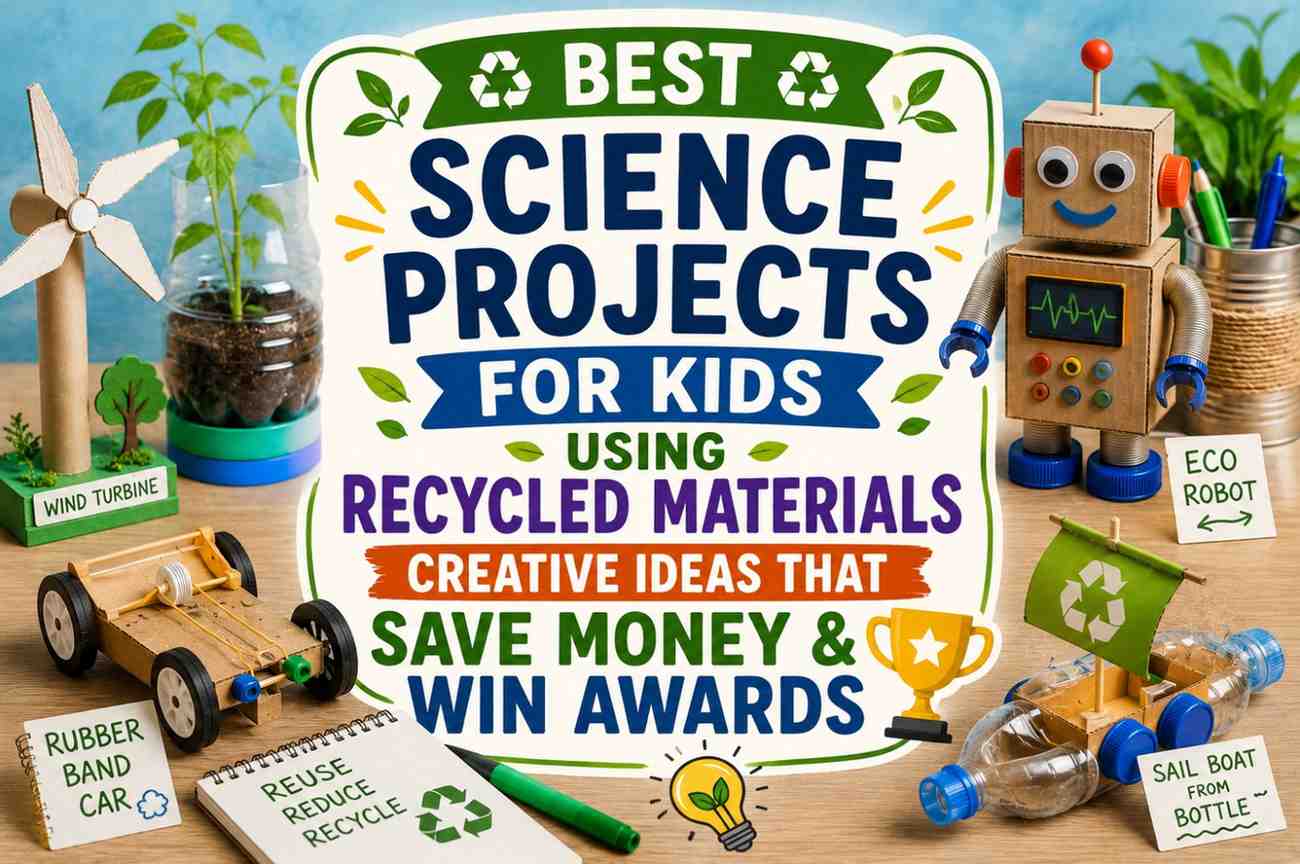
- Best Science Projects for Kids Using Recycled Materials — Creative Ideas
Conclusion
The water cycle project for kids’ 3D model is more than a school project—it’s a miniature Earth, demonstrating the most important natural cycle that makes life on our planet possible. Every cloud you see, every river that flows, every rainstorm that falls — all of it is the water cycle in action.
Build your model carefully. Include real water for a live demonstration. Label every stage clearly. And when you stand in front of your judges and trace the journey of a single water molecule from ocean surface to cloud to rain and back again, you’ll be telling one of the most important scientific stories ever told.
Water is life. The cycle is endless. And your model proves it.