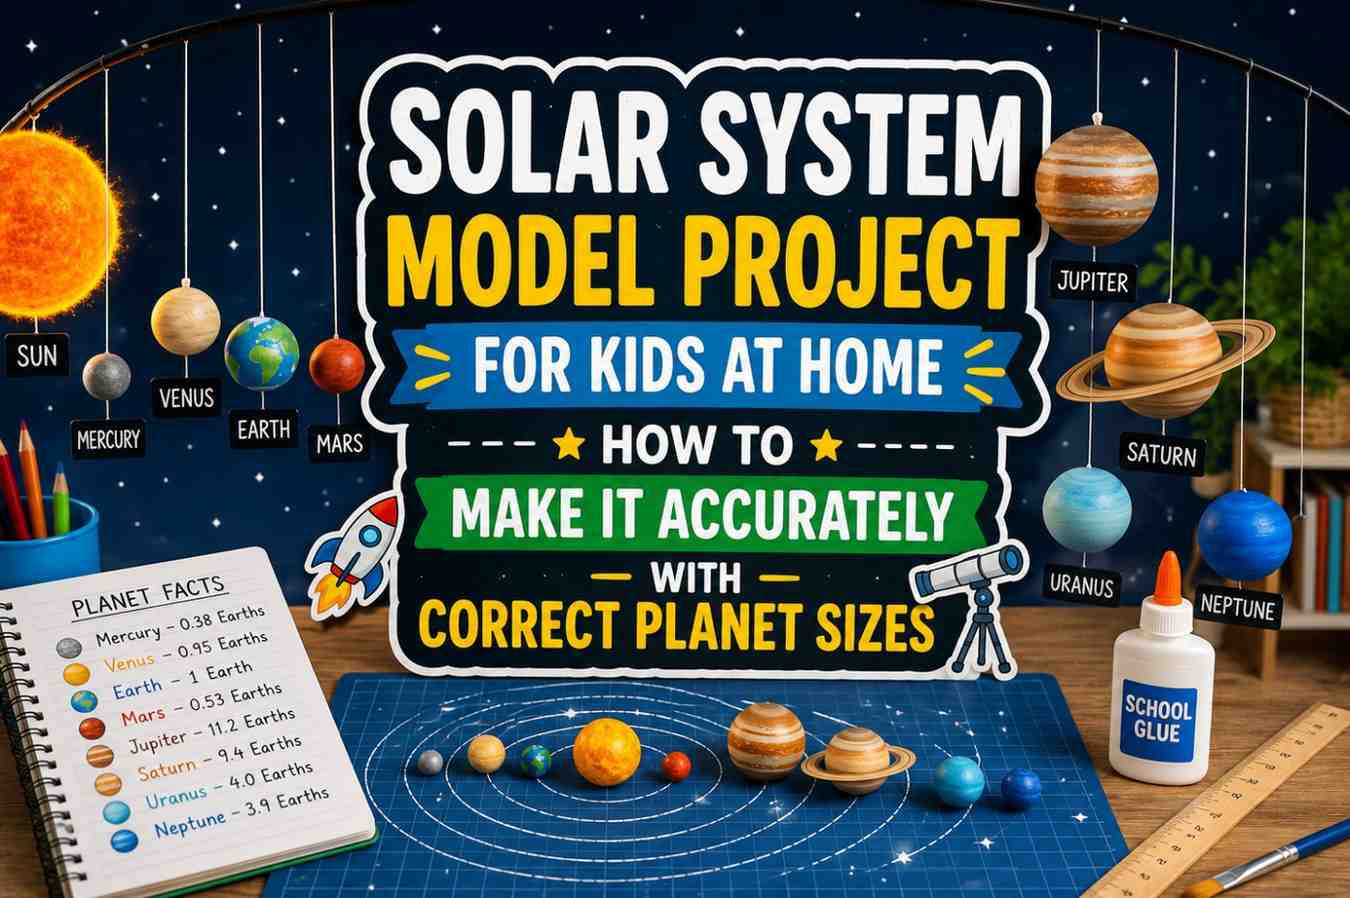
Introduction: The Project That Puts the Universe in Your Living Room
A solar system model project for kids at home is one of the most visually spectacular science projects a student can create. But here’s what most students get completely wrong: scale.
Walk into any science fair and you’ll find solar system models where Jupiter is barely larger than Mercury and Neptune is somehow right next to Earth. These models look nice but demonstrate a fundamental misunderstanding of our solar system’s actual scale — and experienced judges notice immediately.
This guide shows you exactly how to build a solar system model project for kids at home that gets the relative planet sizes right, explains the science accurately, and creates a display that genuinely impresses anyone who sees it.
Understanding Scale: The Biggest Challenge
Our solar system is almost impossible to model truly to scale — if Earth were the size of a marble (1 cm), the Sun would need to be over 1 meter wide and placed nearly 117 meters away from Earth. Neptune would be over 3.5 kilometers away.
That’s why most solar system models show relative size comparisons rather than true scale distances. For a home or classroom project, this is completely acceptable — but your display board should explicitly acknowledge this and explain it. Judges respect intellectual honesty about limitations.
For relative size accuracy, use the following approximate size ratios (with Earth = 1 unit for reference):
| Planet | Relative Diameter |
|---|---|
| Mercury | 0.38 |
| Venus | 0.95 |
| Earth | 1.0 |
| Mars | 0.53 |
| Jupiter | 11.2 |
| Saturn | 9.5 |
| Uranus | 4.0 |
| Neptune | 3.9 |
| Sun | 109 |
Use these ratios when building your model to ensure accurate relative size representations.
Materials You Need
Option A: Styrofoam Ball Model (Classic)
- Styrofoam balls in various sizes (craft store)
- Acrylic paint in planet colors
- Thin wooden dowels or wire for mounting
- A large foam board or cardboard base
- String for orbital rings (optional)
- Reference photos of each planet
Option B: Paper Mache and Balloon Model
- Balloons of various sizes
- Newspaper strips and flour-water paste
- Paint and varnish
- Wire and string for hanging
Option C: Hanging Mobile Model
- Cardboard circles or foam circles of varying sizes
- Paint
- String of different lengths
- A long wooden dowel or hanger at the top
Step-by-Step Instructions
Step 1: Calculate Your Planet Sizes Decide the diameter of your Earth (e.g., 5 cm). Then calculate all other planet diameters using the ratio table above. Jupiter would be 5 × 11.2 = 56 cm in diameter. The Sun would be 5 × 109 = 545 cm — clearly impractical! Most students represent the Sun as a partial sphere or a flat painted circle to manage size.
Step 2: Build or Select Your Planet Spheres For the Styrofoam method: select balls closest in size to your calculated diameters. Sand them smooth if needed. For balloons with papier-mâché: inflate balloons to the correct relative sizes, apply 3–4 layers of papier-mâché, let dry fully (48 hours), then pop and remove the balloon.
Step 3: Paint Each Planet Accurately
- Mercury: Grey with craters (sponge-dab darker grey spots)
- Venus: Creamy yellow-white with swirling cloud patterns
- Earth: Blue for oceans, green and brown for continents, white swirls for clouds
- Mars: Reddish-orange with a slightly darker polar cap in white
- Jupiter: Orange and cream horizontal bands with a large reddish oval (the Great Red Spot)
- Saturn: Pale yellow-gold with prominent rings made from cardboard painted silver-gold
- Uranus: Pale blue-green, smooth
- Neptune: Deep blue with faint cloud streaks in white
Step 4: Create Saturn’s Rings Cut a flat cardboard ring with an inner diameter slightly larger than your Saturn sphere and an outer diameter about 2.3 times Saturn’s diameter. Paint it gold, silver, and white in concentric bands. Thread the planet through the ring or glue it in place at a slight tilt — Saturn’s rings are actually tilted 27 degrees from its orbital plane.
Step 5: Arrange the Planets For a flat display: mount planets on wooden dowels of increasing height (to prevent overlapping) inserted into a foam base, arranged in orbital order from the Sun outward. For a hanging mobile: attach planets to strings of gradually increasing length from a central dowel, with the Sun at the top.
Step 6: Add Orbital Paths (Optional but Impressive) Draw or glue elliptical orbital rings around your Sun using thin wire bent into ellipses or concentric circles drawn on the base board with a compass. This reinforces that planetary orbits are ellipses, not perfect circles — an important scientific distinction.
Step 7: Label Everything Add a name label to each planet showing: planet name, diameter in km, distance from Sun in AU (Astronomical Units), number of moons, and one interesting fact. This transforms your model from a decorative display into a rich scientific reference.
Fascinating Planet Facts to Include on Your Display Board
- Mercury has no atmosphere and experiences temperatures from -180°C at night to 430°C during the day.
- Venus is the hottest planet (462°C average) due to its runaway greenhouse effect — hotter than Mercury despite being farther from the Sun.
- Earth is the only planet known to support life and has the largest moon relative to its own size of any rocky planet.
- Mars has the tallest volcano in the solar system — Olympus Mons — at 21 km high (nearly 3 times the height of Everest).
- Jupiter has 95 known moons, including Ganymede, which is larger than the planet Mercury.
- Saturn is the least dense planet — it would float in water if you had a bathtub large enough.
- Uranus rotates on its side with an axial tilt of 98 degrees, causing extreme 42-year-long seasons.
- Neptune has the strongest winds in the solar system — up to 2,100 km/h.
For verified planet data, NASA’s Solar System Exploration site is the most accurate and comprehensive free resource available for students.
Frequently Asked Questions
Q: What is the easiest solar system model project for kids at home for younger students? A: A flat painted cardboard model where each planet is a painted circle of the correct relative size, mounted on a large black poster board with the Sun at the center, is the simplest version. It takes 2–3 hours and still demonstrates relative sizes clearly.
Q: How do I make Saturn’s rings look realistic? A: Cut a flat ring from cardboard and paint it in concentric bands of gold, silver, white, and pale brown. Use glitter glue for sparkle. Mount the ring at a 27-degree tilt relative to Saturn’s equator. The tilt is what makes it look most realistic and scientifically accurate.
Q: Should I include Pluto in my solar system model? A: This is a great discussion point for your presentation! Pluto was reclassified as a “dwarf planet” by the International Astronomical Union in 2006. Including it as a dwarf planet — clearly labeled as such — and explaining the reclassification shows judges sophisticated scientific awareness.
Q: How do I explain the scale problem of the solar system model to judges? A: Tell them directly: “A truly scale model would be impossible to display in this room. If Earth were the size of a marble, the Sun would need to be over 117 meters away. So my model shows accurate relative sizes of the planets to each other, while acknowledging that the distances are not to scale.” Judges appreciate this honesty.
Q: What is the best way to hang a solar system mobile from the ceiling? A: Use a long wooden dowel as the top bar. Attach the Sun in the center with a short string. Attach each planet with strings of increasing length proportional to orbital distances (simplified). Balance the mobile by adjusting string positions before the final glue sets.
Related Articles
- Water Cycle Project for Kids 3D Model — Step-by-Step Build Guide
- Working Model Science Project Ideas for Kids 2026 — 12 Weekend Builds
- Best Science Fair Projects for Class 5 Students — 15 Award-Winning Ideas
Conclusion
A solar system model project for kids at home is more than a craft project — it’s an opportunity to grasp the true scale, diversity, and strangeness of the eight worlds that share our Sun. From the scorching surface of Mercury to the distant blue depths of Neptune, each planet tells a different story about how planets form, change, and evolve over billions of years.
Build your model with accurate relative sizes. Paint each planet with care and scientific accuracy. Label every world with real data. And when you stand in front of your judges and explain why Saturn would float in water or why Venus is hotter than Mercury, you won’t just be presenting a model — you’ll be sharing a piece of genuine astronomical knowledge.
The universe is extraordinary. Show it that way.