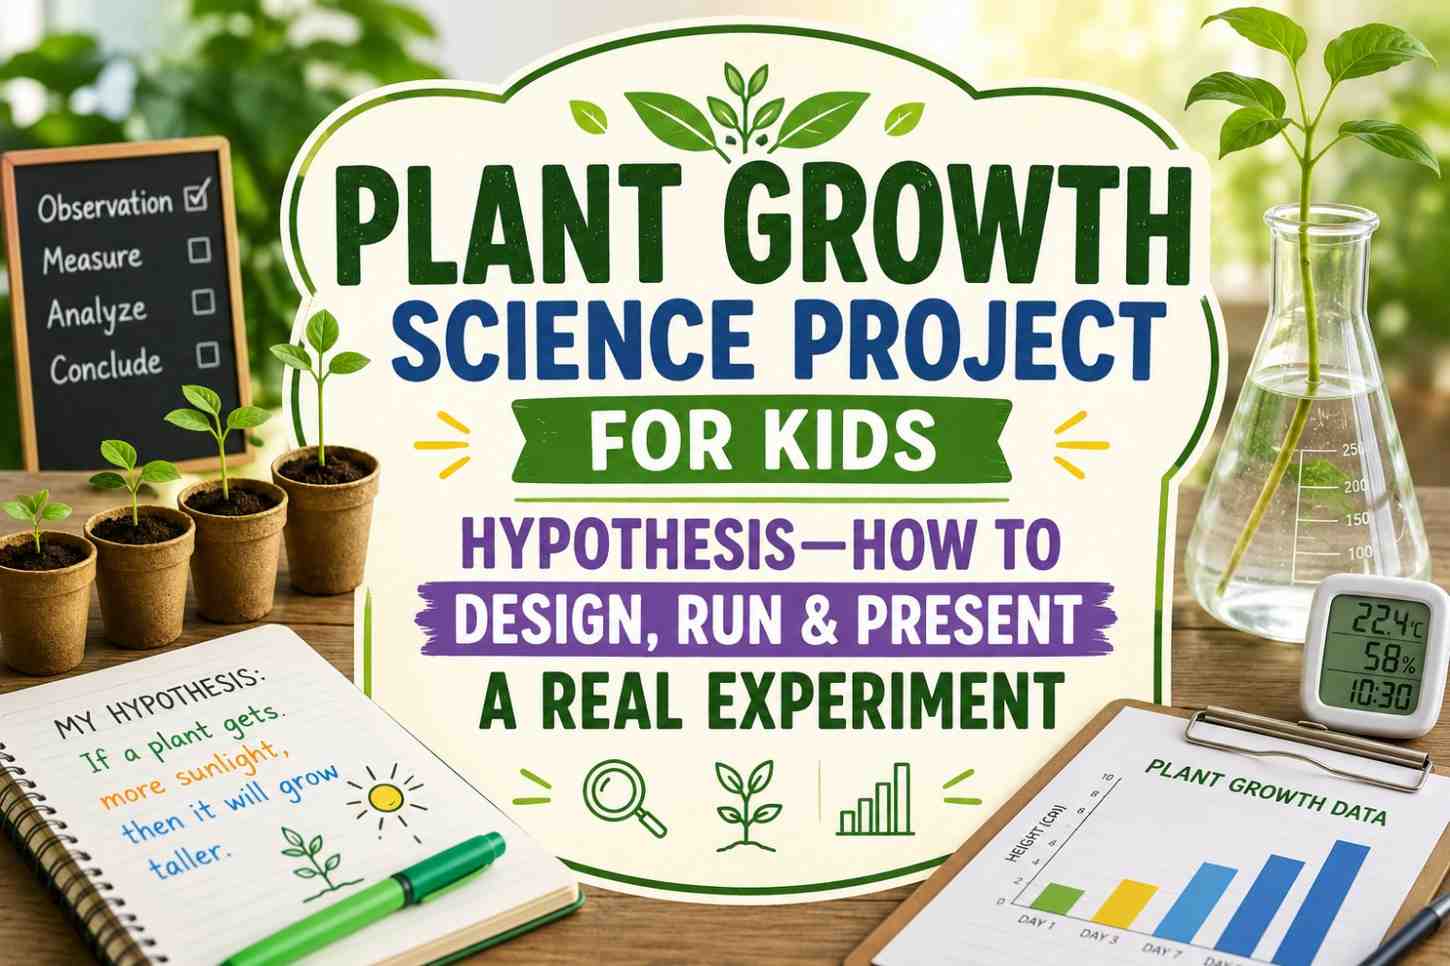
Introduction: Turn a Simple Plant Into a Powerful Experiment
A plant growth science project for kids’ hypothesis is one of the most academically rigorous types of science fair experiments a student can undertake—because it forces you to think like a real scientist before you even pick up a seed.
Most students make a critical mistake with plant growth projects: they simply grow two plants and describe what happened. That’s an observation, not an experiment. A real experiment starts with a well-crafted hypothesis, controls all variables except one, collects measurable data daily, analyzes results statistically, and draws a conclusion that either supports or refutes the original hypothesis.
This complete guide teaches you exactly how to write a strong hypothesis, design a genuinely controlled experiment, collect data properly, and present your plant growth findings with the confidence and scientific rigor that wins science fair awards.
Step 1: Choose Your Independent Variable
In a plant growth experiment, you need to identify exactly one thing you are testing — the independent variable. Everything else must remain constant—those are your controlled variables.
Popular and well-tested independent variables for plant growth include:
- Type of light (sunlight vs. artificial light vs. darkness)
- Color of light (red, blue, green, white)
- Amount of water (daily, every other day, once a week)
- Type of water (tap, distilled, rainwater, saltwater)
- Type of soil (sandy, clay, potting mix, hydroponic solution)
- Type of fertilizer (organic vs. chemical vs. none)
- Temperature of environment (room temperature vs. cooler vs. warmer)
- Music or sound exposure (classical, loud rock, silence)
- CO₂ concentration (normal air vs. CO₂-enriched)
Choose one variable that genuinely interests you. Your curiosity about the outcome will make your project more authentic—and judges can tell the difference.
Step 2: Write Your Hypothesis
A strong plant growth science project for kids’ hypothesis follows this proven format:
“If [independent variable], then [dependent variable outcome] because [scientific reasoning].”
Here are three examples of excellent plant growth hypotheses:
“If bean plants are grown under blue light instead of white light, then they will grow taller in 14 days because blue light wavelengths (450–490 nm) are most efficiently absorbed by chlorophyll for photosynthesis.”
“If mung bean plants are watered with saltwater instead of fresh water, then they will show significantly reduced growth within 7 days because saltwater creates an osmotic imbalance that causes plant cells to lose water rather than absorb it.”
“If tomato seedlings receive classical music vibrations compared to silence, then they will grow taller and produce more leaves in 21 days because some research suggests that sound vibrations may stimulate stomata opening, increasing photosynthesis efficiency.”
Notice that each hypothesis includes the why — the scientific reasoning. This is what separates a great hypothesis from a simple guess.
Step 3: Set Up Your Controlled Experiment
Materials needed:
- 12 identical plant pots (minimum 4 per condition × 3 conditions including control)
- Identical potting soil in each pot
- Identical seeds (same type, same batch)
- Identical amounts of water at the same time each day
- Your independent variable (light source, water type, etc.)
- Ruler, notebook, and camera for daily measurements
Why 4 pots per condition? Using multiple plants per condition gives you averaged data that accounts for natural variation between individual plants. A single plant’s unexpected death or unusual growth doesn’t ruin your entire dataset. This is a key mark of sophisticated experimental design that impresses judges significantly.
Controlled variables to keep identical:
- Same soil type and amount
- Same pot size
- Same room temperature
- Same time of watering
- Same amount of water (except if water quantity is your variable)
- Same starting seed size (select seeds of identical weight if possible)
Step 4: Collect and Record Data
Measure and record every single day at the same time. Record the following for each plant:
- Height in mm (from soil surface to the highest growing tip)
- Number of leaves
- Leaf color (healthy green, yellowing, browning)
- Root visibility through pot drainage holes (if using clear pots)
- General health notes (any wilting, mold, unusual growth patterns)
Photograph each group of plants from the same angle and distance every 3 days. These photos make your display board dramatically more compelling and serve as visual evidence of your results.
Step 5: Analyze Your Results
After your experiment period (typically 14–21 days), calculate:
- Average height per condition (add all plant heights in each group and divide by number of plants)
- Average number of leaves per condition
- Average growth rate (total height gained ÷ number of days)
Create a bar graph showing average final height for each condition. Create a line graph showing average height over time for all conditions on the same axes—this shows the rate of growth difference between conditions, which is often more scientifically informative than the final height alone.
Step 6: Write Your Conclusion
Your conclusion must directly address your hypothesis. Use this structure:
- State whether the results supported, partially supported, or refuted your hypothesis.
- Cite your specific data as evidence.
- Explain the biological mechanism behind your results.
- Describe at least one source of experimental error or limitation.
- Propose one improvement and one new follow-up question for future research.
Example conclusion: “My results supported my hypothesis. Plants grown under blue light averaged 18.4 cm in height after 14 days, compared to 12.1 cm under white light and only 3.2 cm under red light. This supports the theory that blue light is most efficiently used for photosynthesis in early vegetative growth. One limitation was that I used only four plants per condition—a larger sample size would increase result reliability. A future experiment could compare blue light plants grown with different soil pH levels to determine whether light and soil chemistry interact.”
For scientific background on photosynthesis and plant biology, NASA’s Plant Biology Research page provides excellent free research summaries on how plants respond to different environmental conditions.
Display Board Layout for Plant Growth Project
Left panel: Background on photosynthesis, your chosen independent variable, and relevant scientific research that informed your hypothesis.
Center panel: Project title, hypothesis, materials list, procedure with numbered steps, and a photo timeline showing plant growth at days 1, 7, 14, and 21.
Right panel: Data table with all daily measurements, bar graph of final average heights, line graph of growth rates over time, conclusion, sources of error, and bibliography.
Include your actual dried or pressed plant leaves as physical specimens on the board where appropriate—judges love tangible biological evidence.
Frequently Asked Questions
Q: What is the best plant to use for a plant growth science project for kids? A: Mung beans, radish seeds, and bean sprouts are ideal because they germinate within 2–4 days and show measurable growth within 7–10 days. Tomatoes and sunflowers work well for longer experiments (21+ days) and produce more dramatic visual results.
Q: How many plants do I need for a proper plant growth experiment? A: Use at least 3–4 plants per condition, with a minimum of 2 conditions (experimental and control). More plants per group gives you more reliable averaged data and accounts for natural variation between individual plants.
Q: How often should I measure my plants? A: Measure at the same time every single day for consistent data. If daily measurement is not possible, every other day works — but record exactly when each measurement was taken so your time axis is accurate.
Q: What if my plant dies during the experiment? A: Record the death as a data point, note the probable cause (overwatering, disease, physical damage), and exclude it from your averages while noting the exclusion in your methods section. This is standard scientific practice and shows judges you understand experimental limitations.
Q: Can I do a plant growth project in less than 2 weeks? A: Yes — fast-germinating seeds like radish and mung bean can show clear, measurable results in 5–7 days. For a one-week experiment, choose seeds with rapid germination and focus on height and leaf count as your primary measurements.
Related Articles
- Best Science Fair Projects for Class 5 Students — 15 Award-Winning Ideas
- Science Project Ideas for Class 8 Students India — Easy Experiments
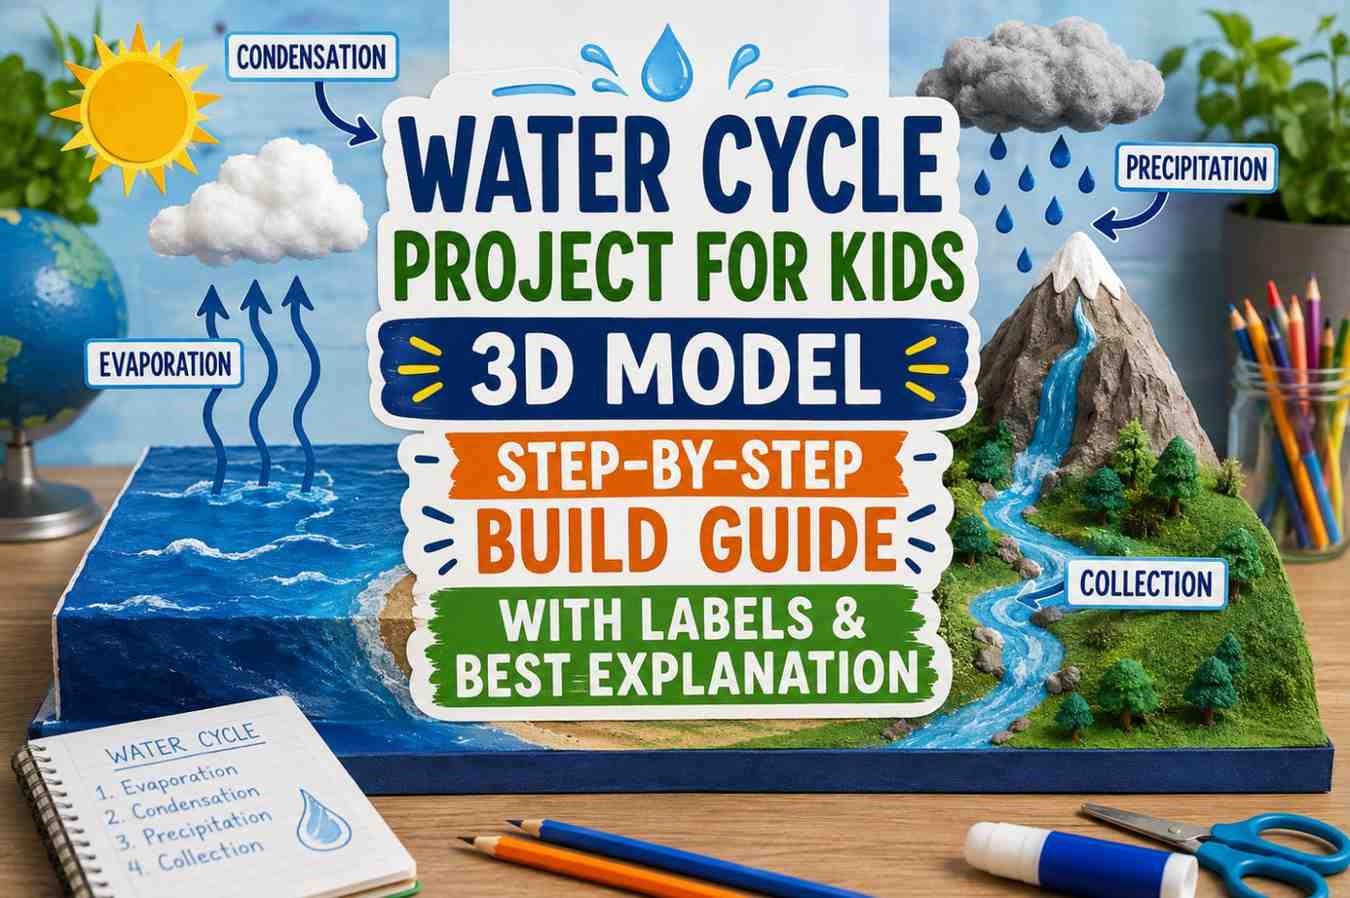
- Water Cycle Project for Kids 3D Model — Step-by-Step Build Guide
Conclusion
A great plant growth science project for kids’ hypotheses is the foundation of a genuinely impressive science fair experience. When you write a specific, scientifically reasoned hypothesis, control your variables carefully, collect real daily data, and analyze your results rigorously, you’re not just growing plants—you’re doing real science.
The process of forming a hypothesis, testing it, and discovering whether you were right or wrong is the most intellectually honest activity a young scientist can engage in. Sometimes the data supports your prediction. Sometimes it surprises you completely. Both outcomes are equally valuable—and equally worth presenting to your judges with pride.
Start your experiment. Measure every day. Trust the data. That’s how real science works.